Mod Remote Explosives for Minecraft PE adds the explosives with a remote control. It is much better than the old TNT because you can put explosives, retreat to a safe distance and click on the panel that would the explosion occurred. New explosives are much more powerful, more modern and smarter than good old TNT.
How to use? Let's look at the steps that need to be done to plant a bomb.
First we need to craft it:
Explosives (ID: 221) with 8 stone blocks + 1 gunpowder
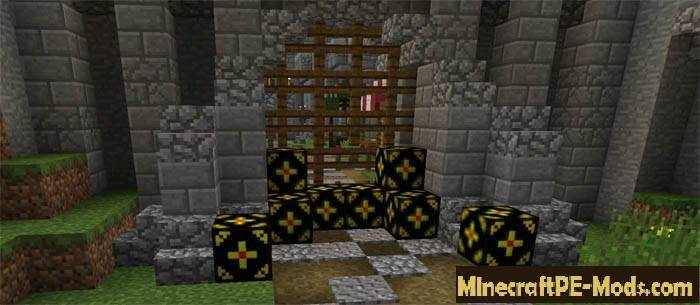
We must continue to put remote explosives in the place that we want to undermine. For example we want to capture the great castle of our enemy, of course we must lay our bomb near the gate of the building that we could break through them.
Now we need to make a remote for the explosives.
remote control for explosives(ID: 230) – 8 iron blocks + 1 gunpowder
Now we have to retreat to a safe distance. Create a panel and put it on the ground. Then empty hand to tap on the remote. There will be an explosion. You can see in the screenshots below. An example of the blast radius
How to install Remote Explosives
Addons for BlockLauncher Pro - these mods are more progressive scripts that have ".Zip", ".JS" and ".Modpkg" extension. It also has full integration with all the functionality up to Minecraft PE 1.12.2 version (Temporarily). Mainly used Java features for iOS and Android. To get started, you will need BlockLauncher, which is an application for Android or iOS. Please note that the application version may have functionality for an incompatible Java version inside the game. For each version of the game, a separate BlockLauncher application was developed.
Download and install BlockLauncher Pro apk, then use FX File Explorer, ES File Explorer or other file managers to find the apk file in the Downloads folder.
After installation, use Blocklauncher Pro to launch the game.
After starting the game, you should see the wrench icon at the top of the screen. It also serves as a guideline that you did everything right.
Click on "Startup Options".
Next, scroll down the list and click on "Manage Scripts".
In this menu, you can manage the installed scripts and import them. Here you can also specify the path to the downloaded script.
It is worth noting that some modifications have both script and texture packs. You will need to import this separately. In newer versions, BlockLauncher has a feature to recognize a folder with texture packs and a folder with scripts inside a zip archive, which slightly simplifies the import process.
This has some pros but also cons because mods work for all single and multiplayer (which work on the client side) game worlds automatically. You can activate or deactivate this in the scripts settings menu.
Launch one of the game worlds and check if everything is working correctly. It is also worth noting that this has an extremely low chance of conflict with other scripts, the exception is the same names of items or mobs.
I am a professional from Minecraft PE Team that creates and publishes the best content for Minecraft players. We have been studying custom gameplay, modding features, as well as popular game themes for a long time. You can be sure that our materials are designed for the player to spend more time in the game world than usual. Additionally, our modifications will allow you to turn your game into absolutely any other theme. I'm also a pretty good player, so I'll try to answer any of the questions in the comments.